

What this guide covers
- FCM setup and the CometChat provider (credentials, Gradle, manifest).
- Initialising the Push Notifications SDK; the SDK registers and unregisters the device token itself.
- Message pushes: grouped notifications, inline reply, delivered receipts and taps, all handled by the SDK.
- Call pushes: ringing through the SDK’s calls module, with the app in any state.
- App icon badge count from the
unreadMessageCountfield.
How FCM and CometChat fit together
- Why FCM? Google issues device tokens and delivers raw push payloads to Android. You add
google-services.json, the Messaging SDK and aFirebaseMessagingServiceso the device can receive pushes. The CometChat SDK never compiles against Firebase; you own it and hand payloads in. - Why a CometChat provider? The Provider ID tells CometChat which FCM credentials to use when sending to your app. The SDK registers each device token against it on login.
- What the SDK does with a push.
handlePushNotificationparses the payload and, fortype = chat, posts a grouped notification with inline reply and marks the message delivered; fortype = call, the calls module rings the device. It returnsfalsefor pushes that are not CometChat’s, so your own handling can take over.
1. Prepare Firebase and CometChat
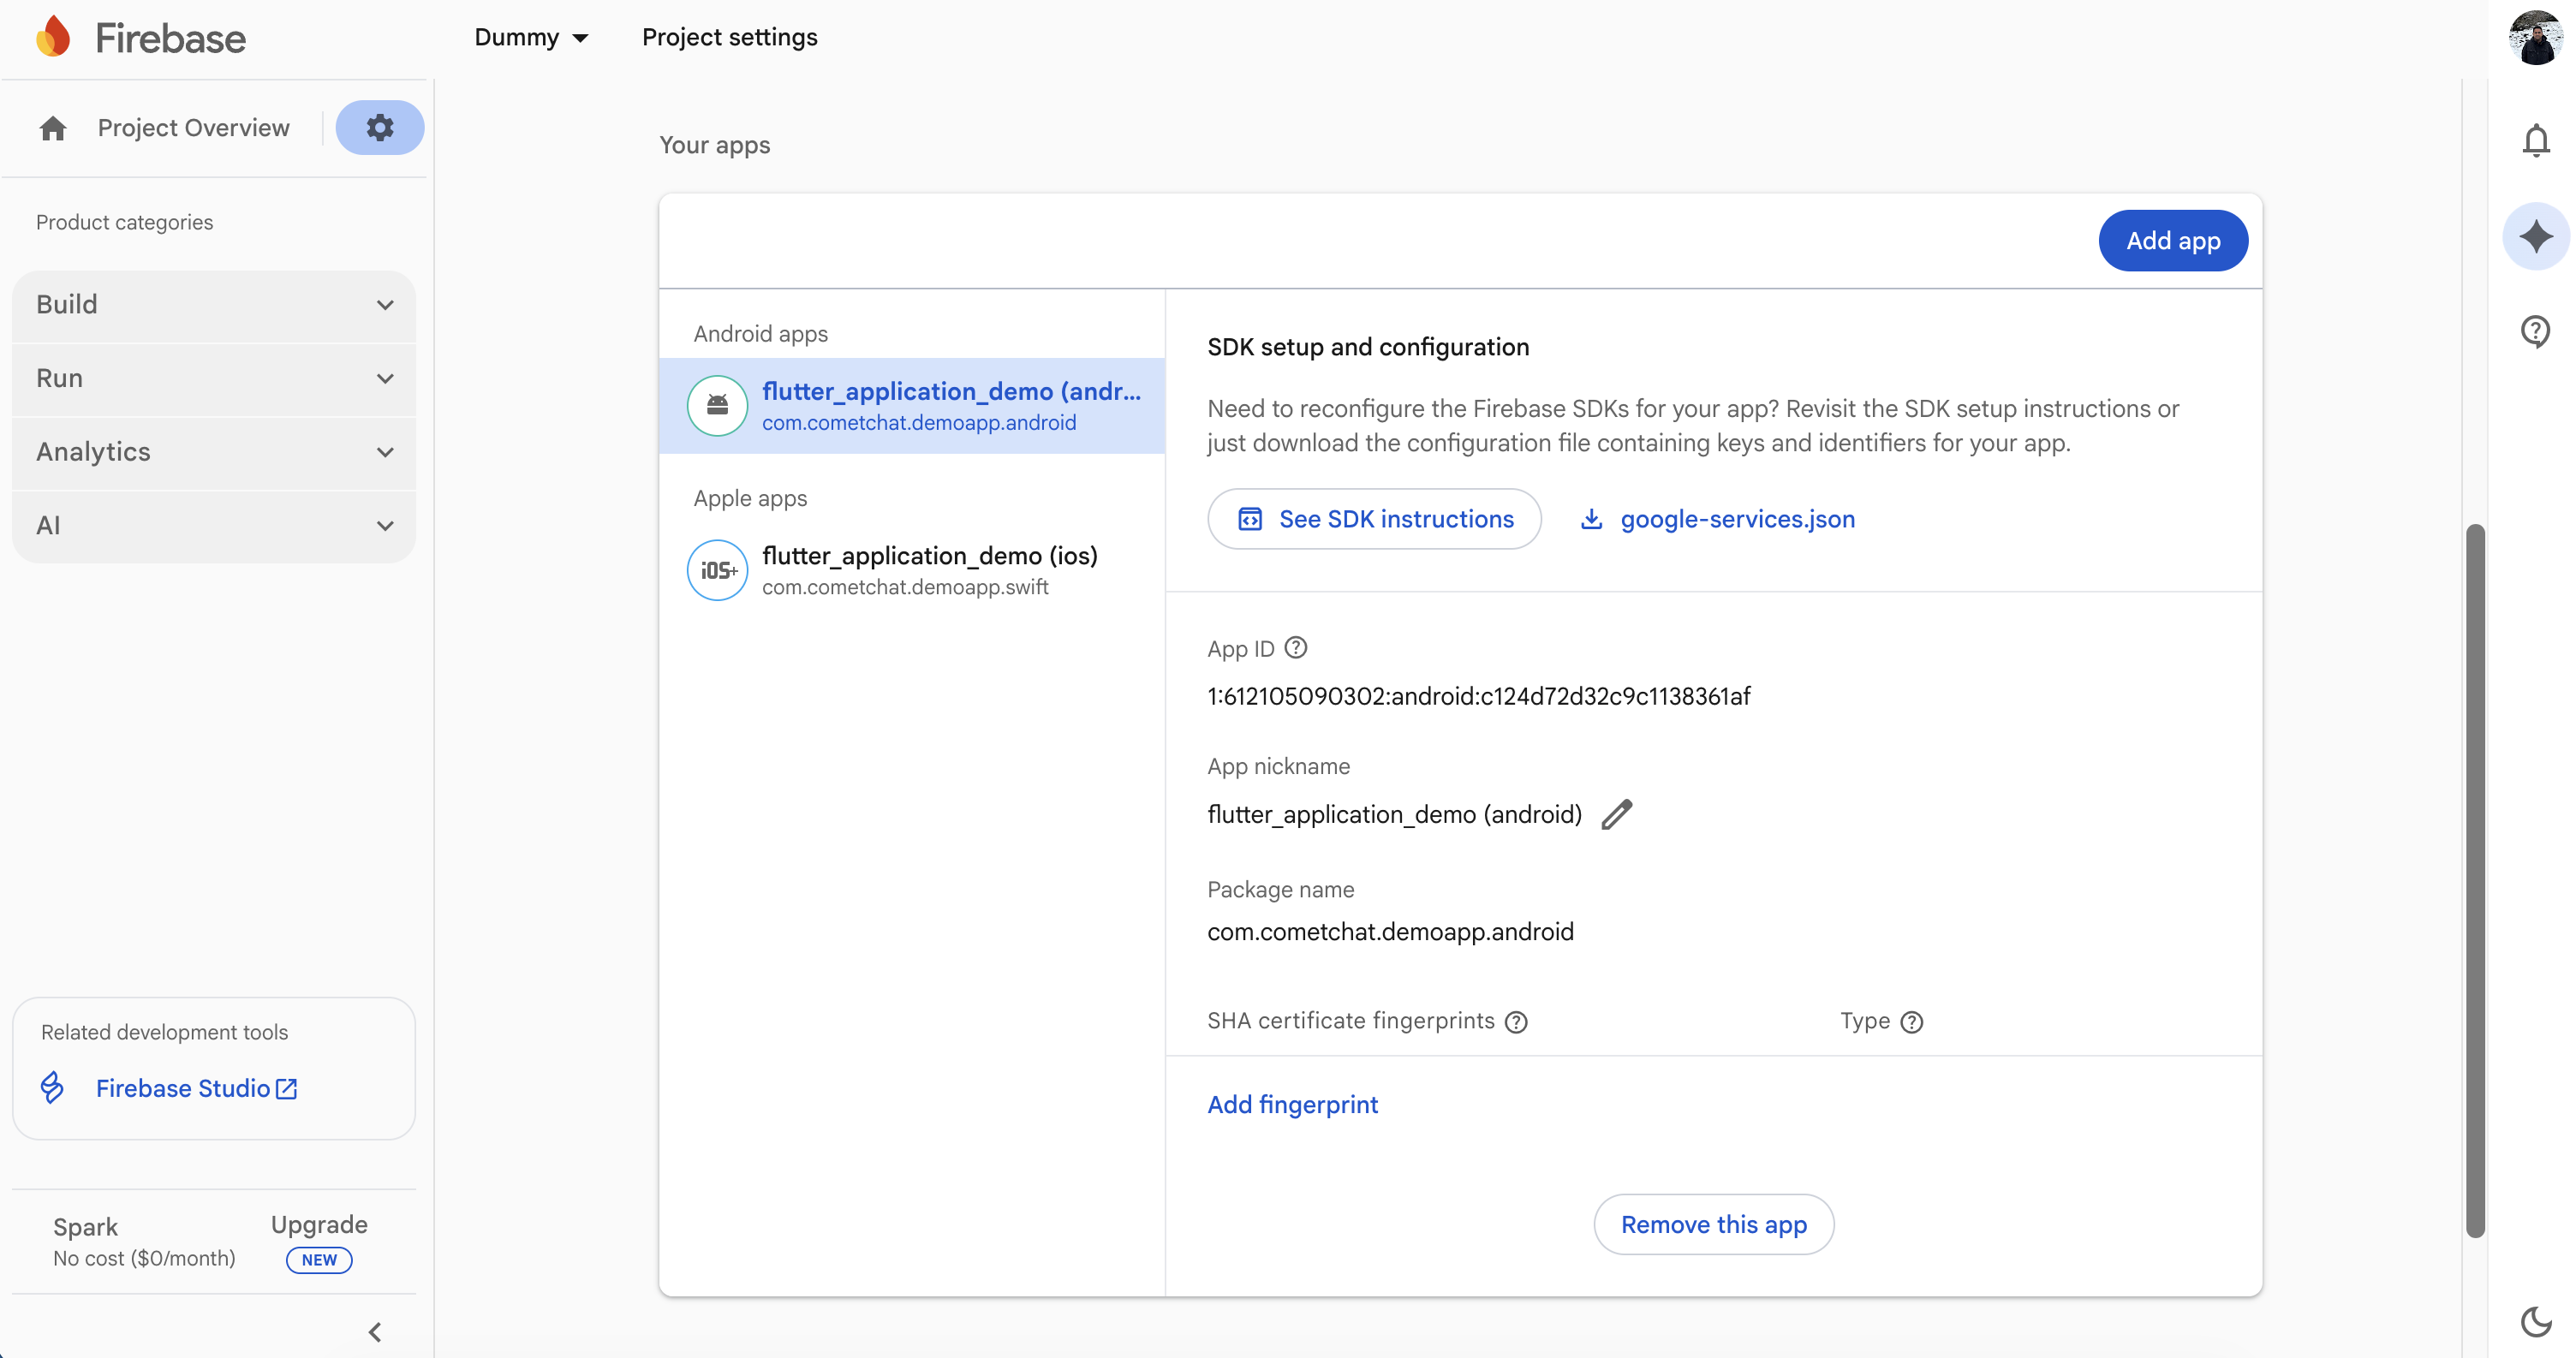
- Firebase Console: Add your Android package, download
google-services.jsoninto the app module, and enable Cloud Messaging.
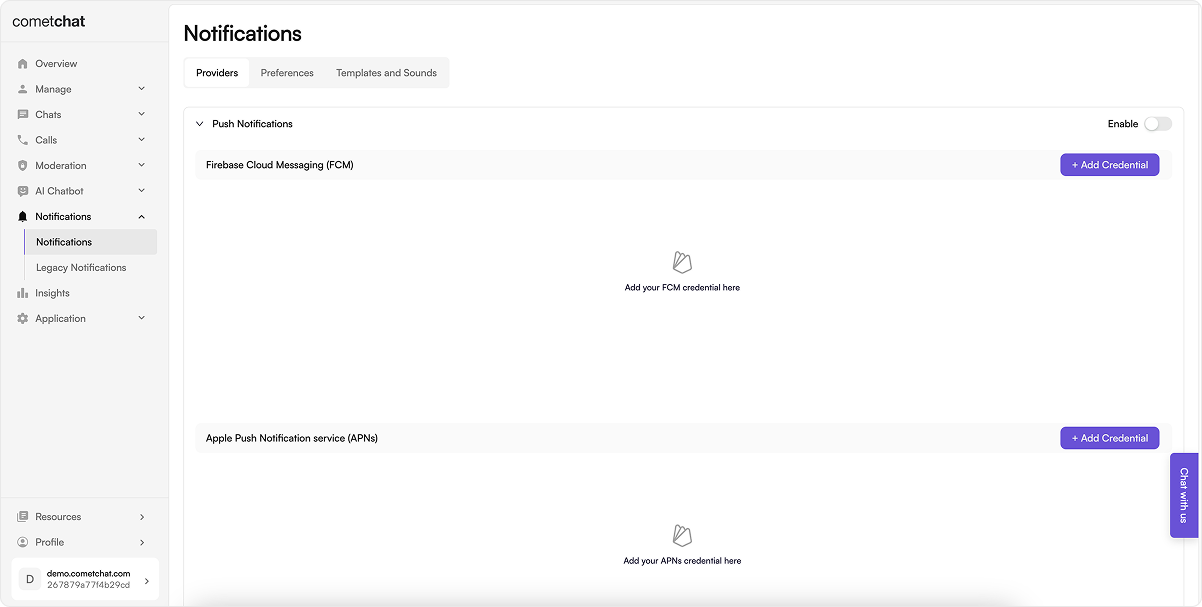
- CometChat dashboard: Go to Notifications → Settings, enable Push Notifications, click Add Credentials (FCM), enter a Provider ID (a unique identifier you choose), and upload the Firebase service account JSON (Project settings → Service accounts → Generate new private key).
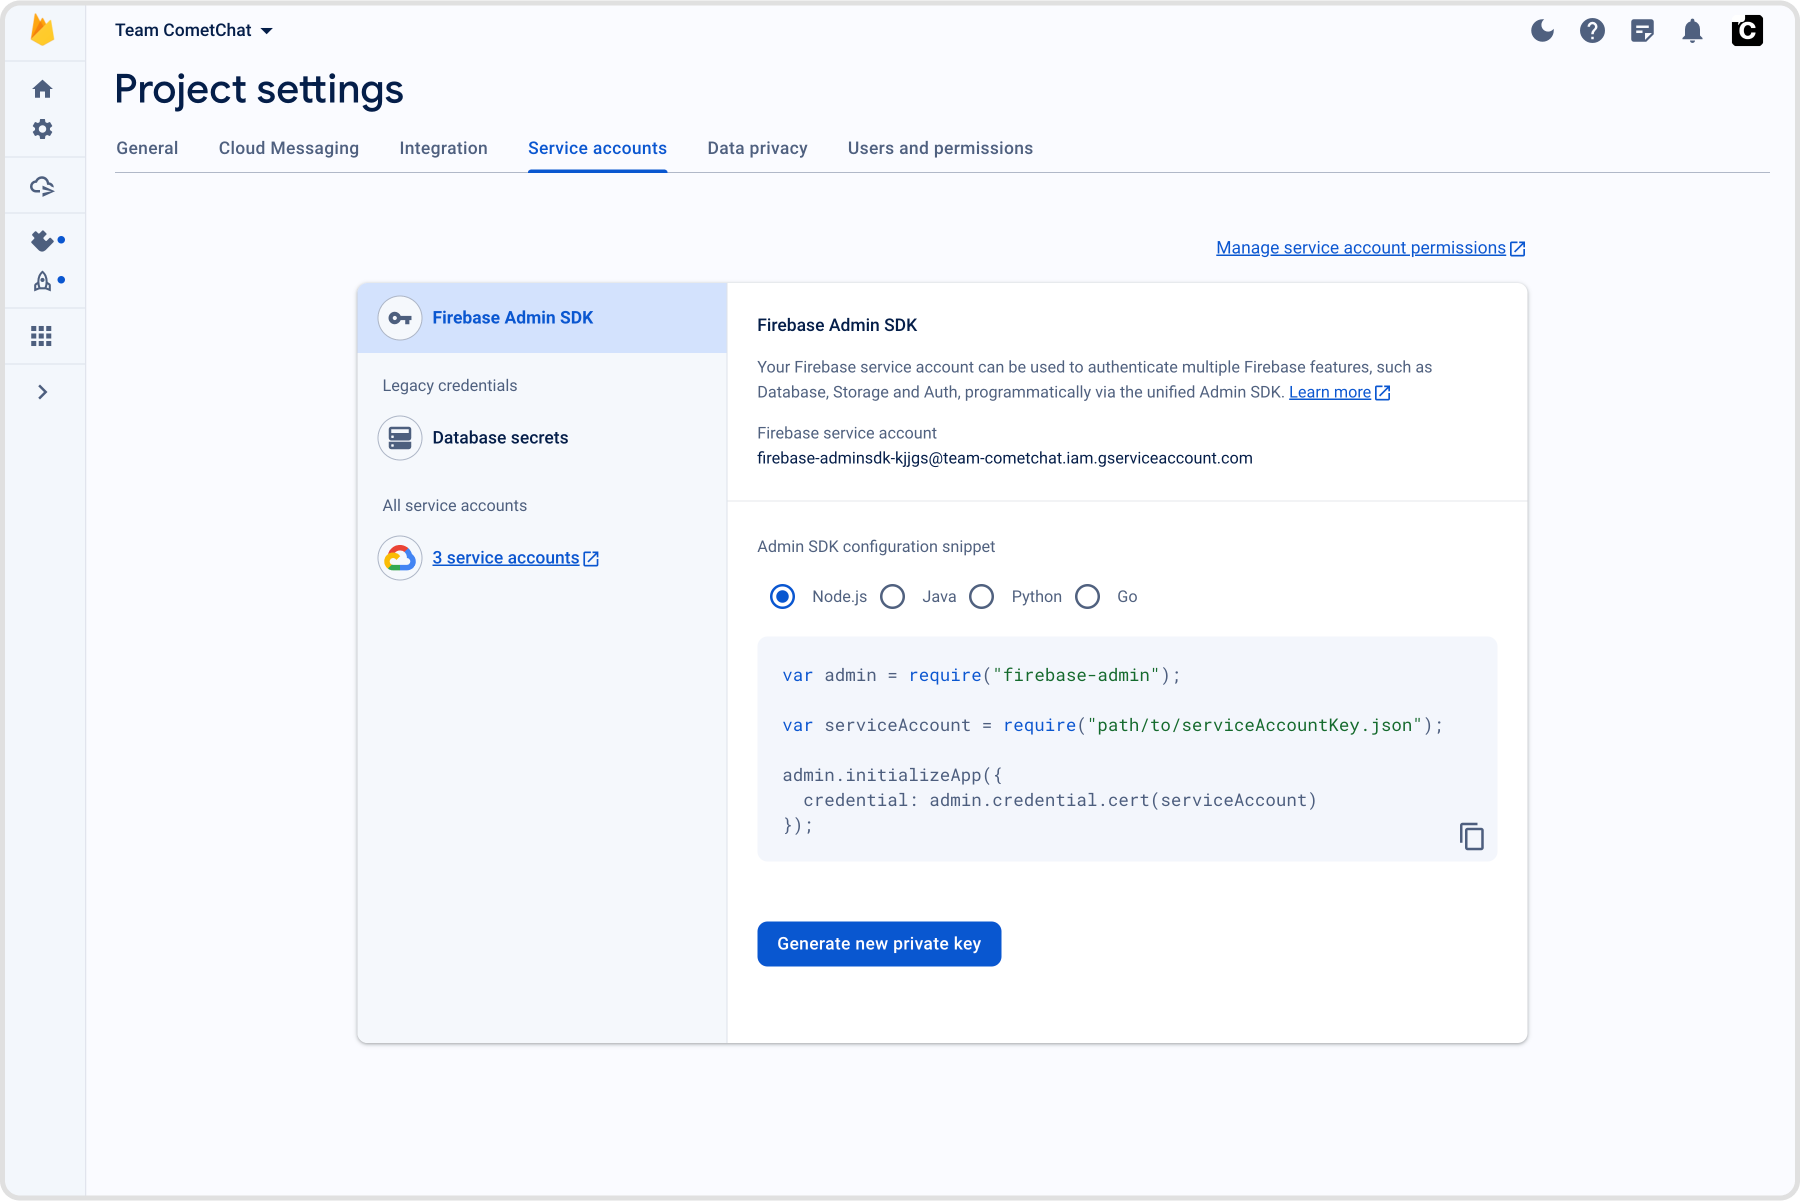
- App constants: note your CometChat App ID, Auth Key and Region, and the FCM Provider ID you chose. The Provider ID goes into
PNConfiguration.setProviderId, and it is required: the SDK registers the device token under it, and without it no token is registered.
2. Add dependencies (Gradle)
Two CometChat artifacts, published in lockstep. The calls one is optional: add it to make incoming calls ring.- TOML (libs.versions.toml)
- Kotlin DSL (app/build.gradle.kts)
- Apply the
google-servicesplugin and placegoogle-services.jsonin the same module. minSdk: the calls module needs 26, the Calls SDK’s floor; the core artifact alone works from 24.compileSdk36 and Android Gradle Plugin 8.9.1 or later: the Push Notifications SDK 2.0 depends onandroidx.core1.18, which requires them.- The Chat SDK is optional for the push SDK: a calls-only app ships without it. Chat pushes are still shown without it; delivery receipts, inline reply and tap deep links need it.
3. Manifest permissions and services
4. Initialise the SDK
InApplication.onCreate, on every app start, after the Chat and Calls SDKs are initialised and before the user logs in. Token registration on login and logout only runs in a process where init ran. The configuration is also saved, so a push that wakes a killed app can still be shown before your code runs.
Deep links from chat notifications. Set the listener in
Application.onCreate: a tap that starts a killed app is dropped if no listener is set yet.
5. Hand every push to the SDK
- Pass
sentTimeMs: Firebase holds pushes while a device dozes, and without it a late push rings for a call that is already over. - Do not skip pushes while the app is in the foreground. The SDK suppresses a chat notification for the open chat itself (
setCurrentOpenChatId), and a call push is the only signal that a call is coming in, in every app state. - Call pushes must be sent at high FCM priority, or Android refuses the ringer’s foreground service and the process can die between the ring and the answer.
6. Tokens, login and logout
You do not register the device token. The SDK fetches it from Firebase and registers it when the user logs in, re-registers it when Firebase rotates it, and unregisters it on logout. Log out of both the Chat SDK and the Calls SDK. Only a Calls SDK logout stops a call still ringing for the old user; a Chat SDK logout unregisters the token but leaves the ring and the Calls SDK session alone.Permissions and ring readiness
After sign-in, check what could silence a notification or a ring.ensureRingReady asks for POST_NOTIFICATIONS itself on Android 13+ when it is missing. It is for apps with the calls module: a chat-only app always gets FSI_REVOKED on Android 14+, because only the calls module declares the full-screen-intent permission. A chat-only app should check the notification permission only.
7. Badge count
CometChat’s Enhanced Push Notification payload includes anunreadMessageCount field (a string) representing the total unread messages across all conversations for the logged-in user. You can use this to set the app icon badge and enrich local notifications.
7.1 Enable unread badge count on the CometChat Dashboard
- Go to CometChat Dashboard → Notifications → Settings → Preferences → Push Notification Preferences.
- Scroll to the bottom and enable the Unread Badge Count toggle.
unreadMessageCount field in every push payload sent to your app.
7.2 Add the ShortcutBadger dependency
Add the ShortcutBadger library to your app-levelbuild.gradle:
7.3 Expected payload format
CometChat sends FCM data messages with this structure (relevant fields):unreadMessageCount is a string representing the total unread messages across all conversations for the logged-in user.
7.4 Update the app badge from the push payload
The Push SDK posts the notification; the badge stays yours. InonMessageReceived, read unreadMessageCount from the same payload you hand to the SDK:
ShortcutBadger uses launcher-specific APIs (Samsung, Huawei, Xiaomi, etc.) to display a badge number on the app icon. Passing 0 clears the badge.
7.5 Clear badge when the app opens
Clear the badge count when the app launches and every time it resumes from the background. OverrideonResume() in your main activity:
8. Message pushes
Handled by the SDK: one grouped notification per conversation with the sender’s name and avatar, an inline Reply action that sends the reply through the Chat SDK and refreshes the notification, a delivered receipt sent for the message, and a tap that calls yourNotificationTapListener. Nothing to build; customise the small icon and the reply action through PNConfiguration.
To change the body text of a push before it is sent, set pushNotification in the message’s metadata:
9. Call pushes
Handled by the calls module: it shows a call-style notification with Answer and Decline and a full-screen screen over the lock screen, plays the ringtone, asks for the microphone and camera on Answer, opens your answer activity, sends declines and timeouts, and posts missed-call notifications. Configuration, your own ring screen and theming are on Push Ringing. Starting and ending calls is on Ringing.10. Testing checklist
- Install on a physical device and grant notifications (Android 13+ needs
POST_NOTIFICATIONS). - Log in so the SDK registers the push token.
- Send a message from another user:
- Foreground: a grouped notification shows unless that chat is open.
- Background or killed: the tap opens the right conversation.
- Inline reply from the shade delivers the message and updates the notification.
- Call from another user:
- The call-style notification and, on a locked phone, the full-screen screen appear with the caller’s name.
- Answer opens the call screen and joins; Decline ends the ring and the caller sees “declined”.
- Let it ring out: a missed-call notification appears and the caller sees “unanswered”.
- Kill the app and call again: it still rings.
- Log out and confirm no further pushes arrive; log in as another user and confirm theirs do.